
External monitors are very useful not only in the case of having a PC, where they are obviously essential, but also for laptops. That gives us a better view of the desktop, and to optimize its performance it is very useful to split the screen. Do you want to know how to split the screen in Windows 10? Keep reading and you will see that it is easy and you can get a lot out of it.
If you spend a lot of time on your computer, splitting the screen is very beneficial since you can work on two different applications at the same time without having to switch from one to the other. It will be possible to see one on one side of the screen, and the other on the other, which makes work much easier in some cases. It is as if you have two screens, but only doing it on one.
Steps to split screen in Windows 10:
- The first thing you have to do if you want to split the screen in Windows 10 is to select the application you want to split and click at the same time on the Windows key + on the left arrow key.
- Then select the second application you want to split, press the Windows key again and, at the same time, the right arrow key.
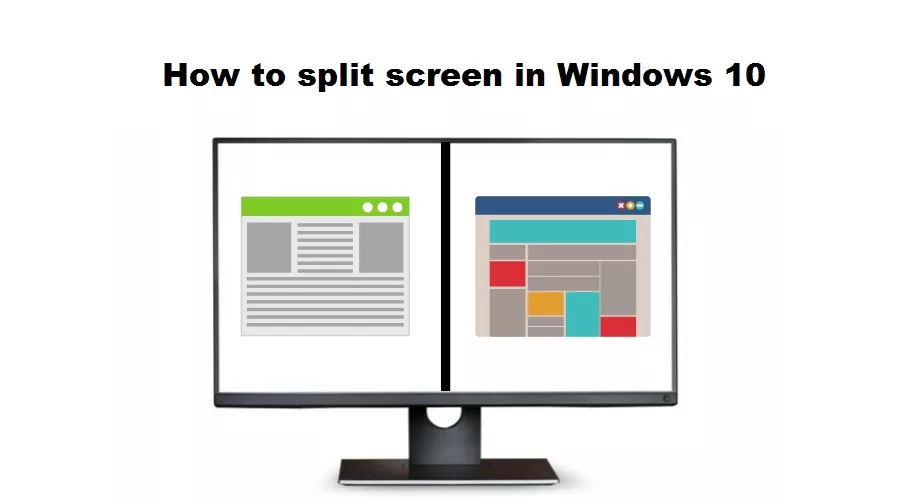
- Doing the above, the first application will be in the left half of the screen, while the second will go to the right side. Everything will be perfectly square and fitted.
- This method can be used for both applications and web pages or any software. It is also used for documents or any application or file that can be displayed on the screen.
- To remove the split, just close an app. You can then recover the size in the other one or open a new one and do the trick so that it becomes part of the divided part of the screen.
As the driving force behind WikiPluck, I am dedicated to curating and sharing insightful knowledge across a spectrum of subjects. From technology trends to Business advice, WikiPluck strives to be a go-to resource for those seeking to enhance their understanding and make informed decisions.
Join me on this journey of discovery and enlightenment as we pluck the gems of wisdom from the vast landscape of knowledge.